Using Food Dye Colouring as Ink

A new set of generic ink cartridges for my ink-jet printer costs around $25 which is too much considering I only get about 10 (colour) pages from them as the printer uses up ink over time keeping the heads clean. So when I was at the supermarket and noticed that 50ml of food colouring is only $1 I had to try using it for printing. Also assuming it would work I bought some rice paper for edible printing!
WARNING: This may well destroy your print heads and thus your printer. Food Colouring may become toxic during the printing process. Try only at your own risk.
Ingredients
- Gloves (unless you are happy to have coloured hands)
- Sink/Basin (ink is going to spill, its part of cartridge refilling)
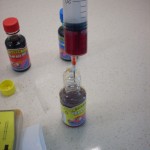
- Blue Food Colouring (for Cyan)
- Pink Food Colouring (for Magenta – I used Red and it made everything a bit dark when printing)
- Yellow Food Colouring (for Yellow!)
- Black Food Colouring (for Black – I wish I had bought some – my printing was not edible because had not replaced my black)
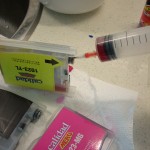
- Syringe (try to get a non-sharp one, if you order one off deal-extreme like i did be very careful since there is no guarantee it is sterile)
- Instructions for refilling your printer cartridges (search the web – mine were simple enough not to need any)
- Rice Paper (It needs to be as thin and bendy as possible)
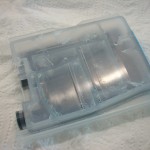
Step One: Flush Out Cartridges
The first thing I did was inject my cartridges with water and then empty it out using the syringe. I did this a few times until as much as possible of the previous ink was removed.

Step Two: Determine Capacity
I did one final flush with water to determine the capacity of the cartridges before I was working with the food dye. Its much better to have the cartridges nearly full than overflowing everywhere. My cartridges have an interesting micro/mini fluid network in them which meant it was only easy to half fill mine.
Step Three: Fill Cartridges
Fill the syringe with the measured capacity of ink and inject it into the corresponding color of ink cartridge. Then re-install them into your printer.
Step Four: Cleaning
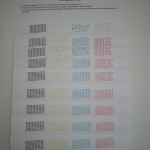
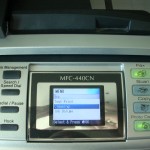
If you haven’t printed in colour for a while like me you’ll meed to run your printers cleaning cycle a few times to bring your print head back to life. I had to run mine about 10 times however if you print colour regularly this should not be a problem. You can check the print heads are clean properly by printing a test page. If you click my test pages image to the right you can see how the print head slowly comes back after many runs of the cleaning function.
Step Five: Test Print Image
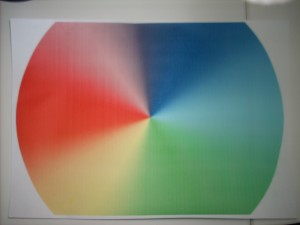
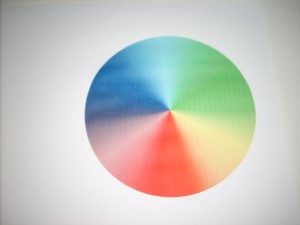
Now that everything should be working it is time to print a test image. I chose a full A4 color wheel to test with to get an idea of how well the colours are produced by food colouring. I think you’ll agree from the images below it works fairly well. On my print the pink/purples don’t come out very well. I think that is because I used red dye for magenta rather than pink, unfortunately my supermarket was out of pink food dye.
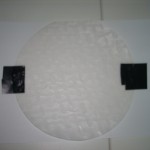
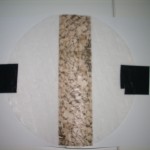
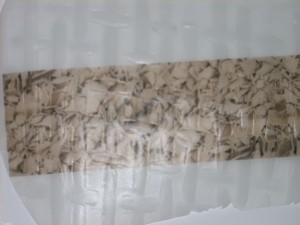
Step Six: Rice Paper
I cut some of the rice paper to roughly A5 and put it in the printer. It worked the first time printing a chocolate flake pattern. However on subsequent tries the rice paper was too britle and broke up in the printer. To overcome this problem I taped the rice paper to an A4 sheet and then printed on it. This worked much better, however It still cracked a little when cutting it. I am sure a better rice paper can be found just not at my local supermarket.
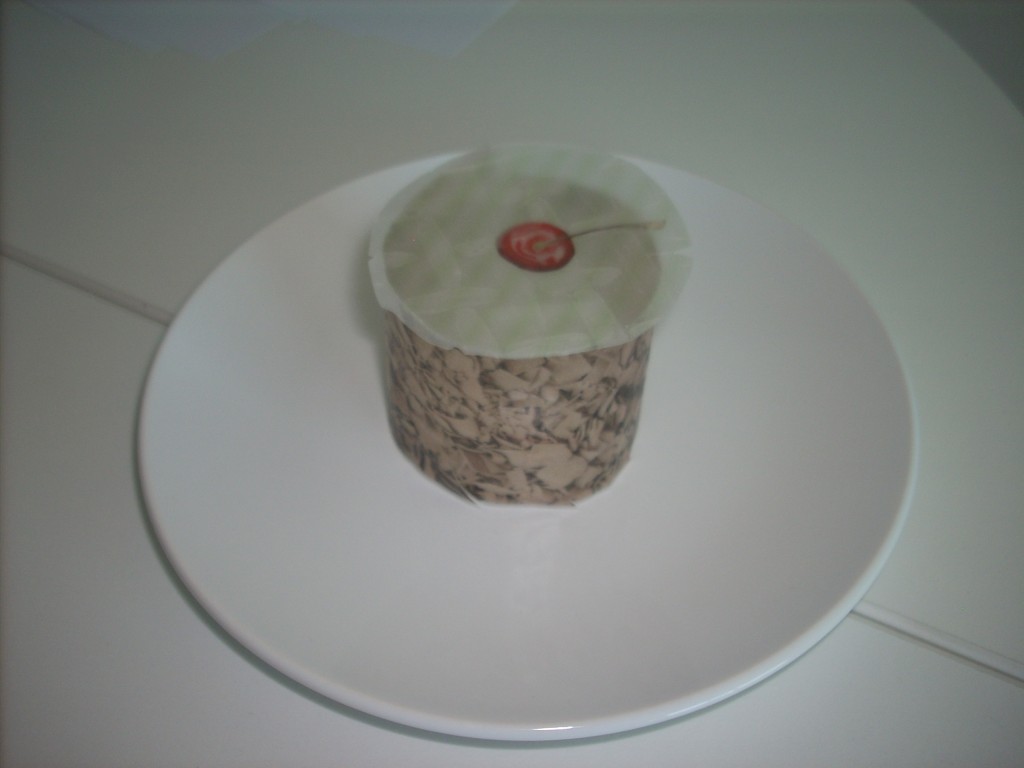
Cake!
Unfortunately was unable to sample it as I had not replaced my black ink with food dye.
Conclusions
- Food Colouring works just as well for general printing like reports with graphs and word art etc.
- Photo’s will probably come out looking a little off.
-
Only time will tell if the food colouring is damaging the print heads.
This could be a great way to do custom decoration on cakes or other foods (Christmas/Birthdays/Halloween). I’ll try and put an update on this post a month or two down the track to let you know if the print heads got damaged or are still working.