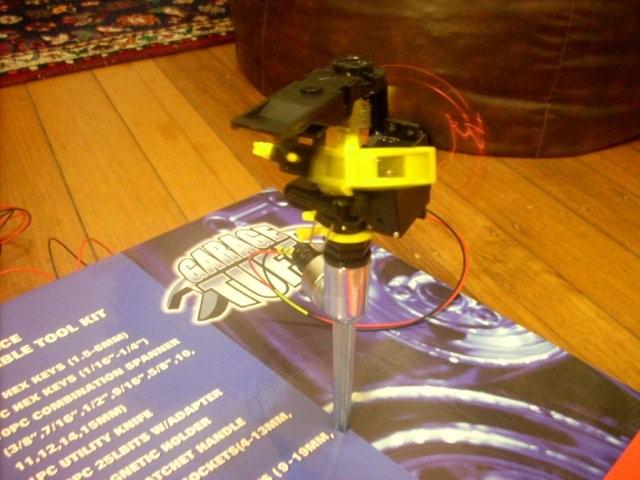
My friend is part of SOAK (Smart Operational Agriculture Kit) and needed some help putting together a demonstration sprinkler for the project. We ended up with a ‘sprinkler without water’ which can be activated from .NET (we did consider spraying onlookers with water :) ). The main electronics is a serial port controlled switch built using a TIP41C transistor which is activated from a ‘Switch’ class in C# .NET. The SOAK team then wrapped the class in a web service for use with their project.
Switch Features:
- Uses serial port loopback to automatically detect the com port
- Low Part Count
- Can be controlled over the web

Parts ($45)
1x USB to Serial Port Adapter [$25] (These can be had for $10 if you are running XP, but ones that work with vista are $25 to $50 dollars and I am yet to see one that works with 64bit Vista which is a shame)
1x TIP41C transistor [$1.30]
1x DB9 Plug [$1.00]
1x DB9 Casing [$1.00]
1x Wires [$2] (I’ll let you decide how long you want them, but you will need at least a metre or so.)
1x Battery/Power Source
1x Servo Motor [$10]
1x Roll of electrical tape
1x Sprinkler [$5.00] (I got mine from the local ‘discount’ store)
2x Hours of time [$100?]
Equipment & Download
1x Soldering Iron
1x Wire Cutters
1x Serial Port Switch C# .NET Sample project
Getting Started: The Switch

Before you start soldering you might want to check that the circuit is working using a breadboard or just twisting the wires together.
Attach Leads to components
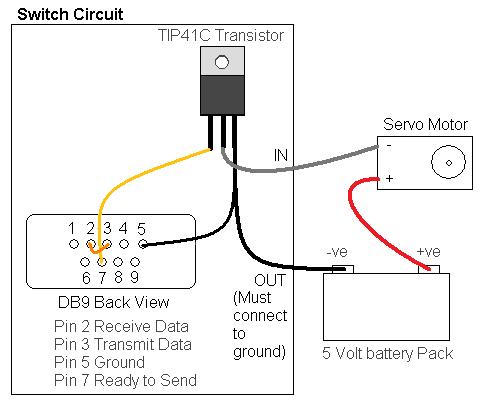
- Solder short (5-10cm) lengths of wire to pins 7 and 5 on the DB9 serial port plug. These wires need to fit inside the DB9 casing.
- Solder long (35cm) lengths of wire to the second and third pins on the transistor (TIP41C).These will go outside of the DB9 case and connect to our other circuit.
Link the components together
- Solder a short piece (1cm) of wire between pins 2 and 3 on the DB9 serial port connector. This connection makes the port a loopback (data sent to the serial port is sent/looped back).
- Solder the wire from pin 7 to the first pin on the transistor (TIP41C). This wire carries our on/off signal and connects to the base of the transistor (wire is yellow in diagram).
- Solder the wire from pin 5 to the second pin on the transistor. This is the common ground connection this is required for our transitor to activate properly from the signal.
Refer to this diagram

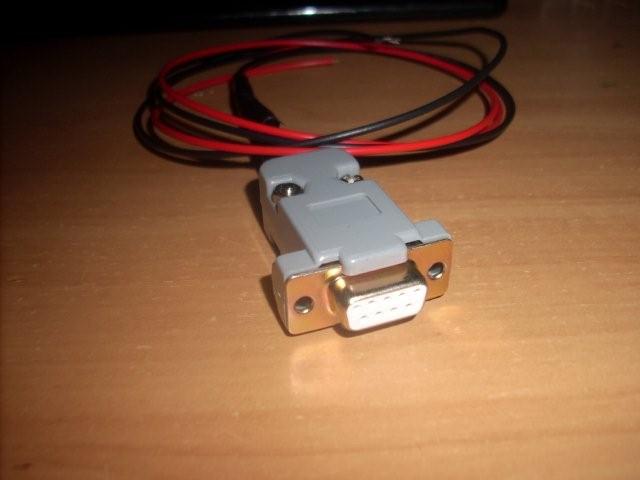
Once all the components are soldered together insulate any bare wires with electrical tape and pack the transistor and short wires into the DB9 casing leaving the two long wires protruding through the hole at the back of the casing.Then screw/clip it together depending on your casing.
Testing: The Code
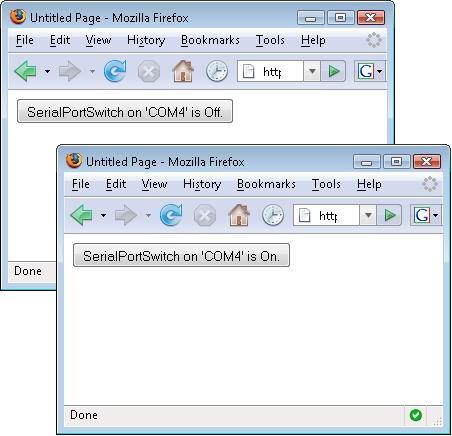
You will need a copy of Visual Studio 2008 (Web Developer is fine) to run the sample project. All you should need to do is plug the serial switch in and run the project and it should find the serial switch port automatically. If not there is probably something wrong with your loopback connection (pins 2 & 3) so you might want to check that. If you are having problems the SerialPortSwitch.cs file is well commented, have a look in there. To operate the project press once to turn it on and once to turn it off.

Bringing it Together: The Sprinkler
Building the sprinkler part was a matter of gluing a servo motor to the sprinkler and then attaching some wire arms to the servo horn to actuate the ‘twacker’ on the sprinkler. The wires were run out the sprinkler water inlet and through the ‘hose’ so that they could not be seen. The pics below should give you an idea of how it was all put together.
Finished: The Video
Improvements:
This switch is not isolated. Meaning that whatever you drive with the switch could feedback into your serial port (eg. damage your computer). Replacing the transistor with an optically isolated component would fix this.
Chris has a nice circuit on his blog that is opt-isolated and can handle low load mains: http://hmmtheresanidea.
Pictures
{gallery}netswitchsprinkler{/gallery}